Adventures in Still Pictures
Medium format photography with Year 12.

Earlier this week I completed the first of several workshop sessions with my Year 12 A-level photographers in which the stabilisers were officially removed. They’re five weeks into the course and it’s time to stretch out a little.
The aims of these sessions are threefold:
- Explore the sub genre of Environmental Portraiture
- Learn how to use digital cameras in Manual mode with a fixed ISO
- Experiment with making medium format black and white portraits on film

I asked the students to take a look at three photographers’ environmental portraits and choose one to research in detail: Rahim Fortune, Vanessa Winship or Niall McDiarmid:

I could have chosen any number of brilliant photographers but I love each of these artists and I was keen for the students to look at some examples of excellence.* I also wanted to address some of our Threshold Concepts, trying to flesh out what these words might mean in practical terms:

I arranged the students into six teams of 3-4 students (I have 21 in the group) and I took the first three groups outside to make some analogue pictures, whilst the others got to grips with Manual Mode on the digital cameras (set to 400 ISO and Monochrome, to mirror the medium format process).
We have two Bronica ETRS 6x4.5 cameras in the department, one of them a generous gift from a former parent, which I supplemented with my Bronica SQA from home. For this workshop I chose Ilford XP2 Super 400 film, a versatile black and white stock that can be developed in colour C41 chemistry.†
We have a combination of Canon DSLRs and Fujifilm mirrorless digital cameras.

Prior to the lesson I’d asked the students to download a free lightmeter app to their phones.‡ With both the digital and analogue processes, I wanted to get them to slow down, measure the light and compose carefully. Modern digital cameras (and phones) are so sophisticated that young photographers don’t really need to engage with concepts like the Exposure Triangle.

It’s obviously possible to make really exciting images with no technical knowledge whatsoever. But what happens when you want to make an image in which a lot, or very little, is in focus? Or if you want your moving subject to be blurred? What I’ve found is that learning by doing is a great way to explore these technical issues. Rather than listen to me bang on about the relationship between aperture, ISO and shutter speed in the classroom, it’s better for students to play and make mistakes. Working in Manual Mode may seem like an unnecessary barrier, when Auto would produce more reliable results, but constraints like this can inject a break, disrupting unhelpful habits, questioning tacit understanding and provoking a more mindful approach that connects hand, eye and brain.
The great advantage of digital cameras is that they provide instant feedback which you can use to adjust your decisions. Film is less forgiving, so practising with a digital camera can help you become more successful with film, as long as the contexts are similar.
Crucially, everyone was forbidden from deleting any of their digital images. All of them, the under and over-exposed, the out-of-focus and badly composed, must be shared and evaluated on their websites. I reminded them that they would not be able to review their film photographs and that each image would normally cost them about £3! They needed to take as much care of their digital images as each of their analogue exposures.
Some of the students’ digital photographs were really pleasing:
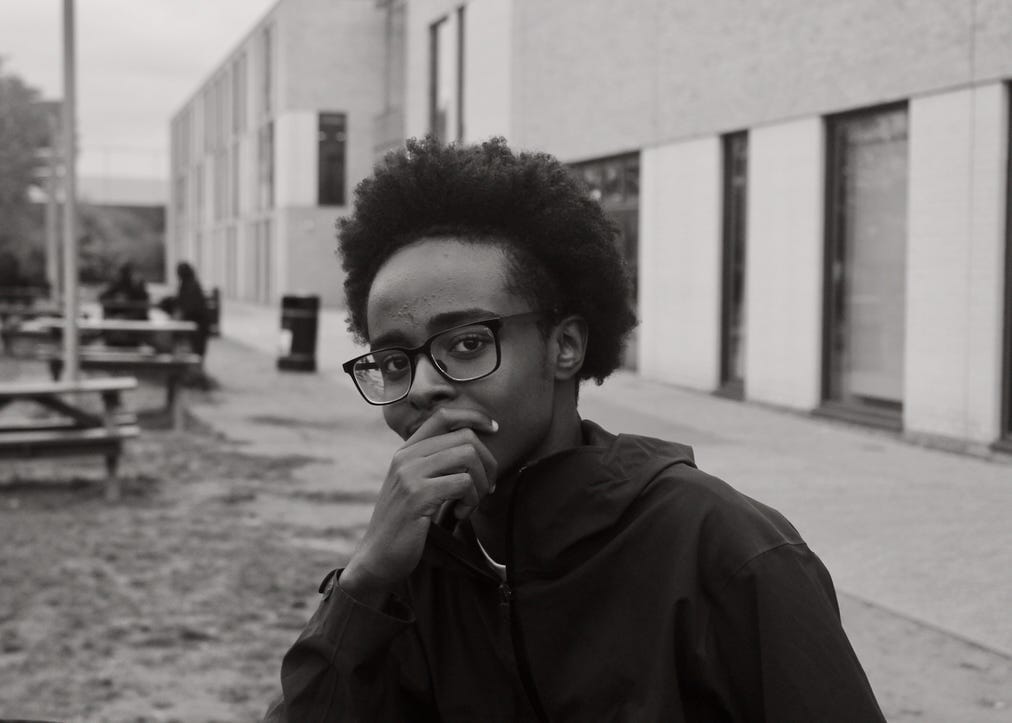
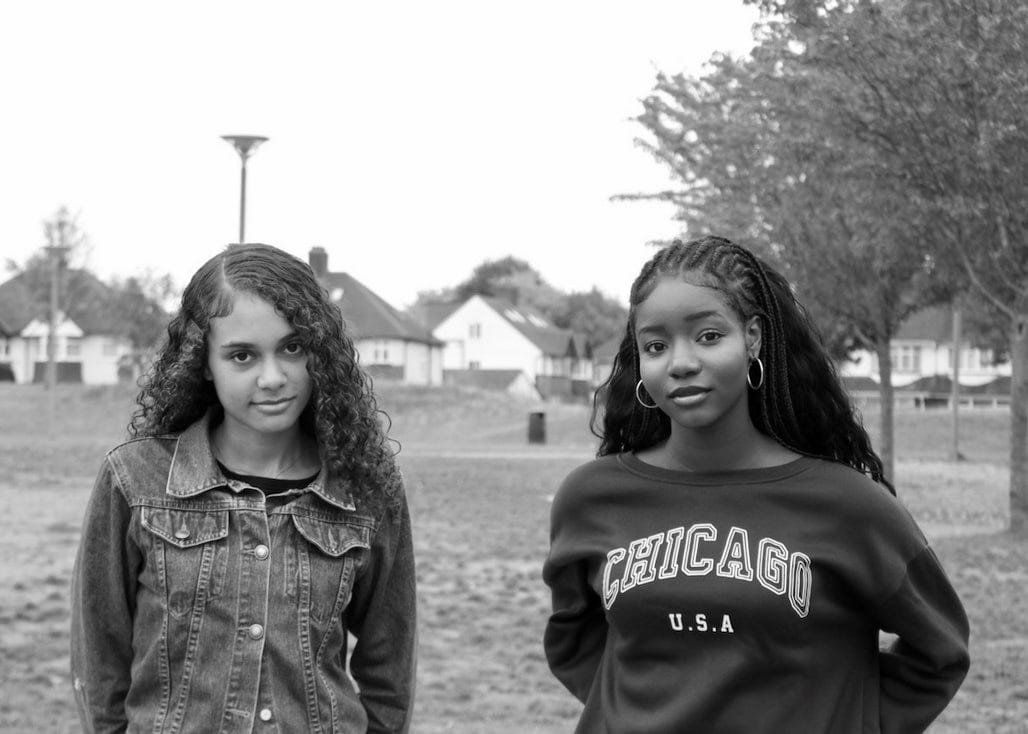
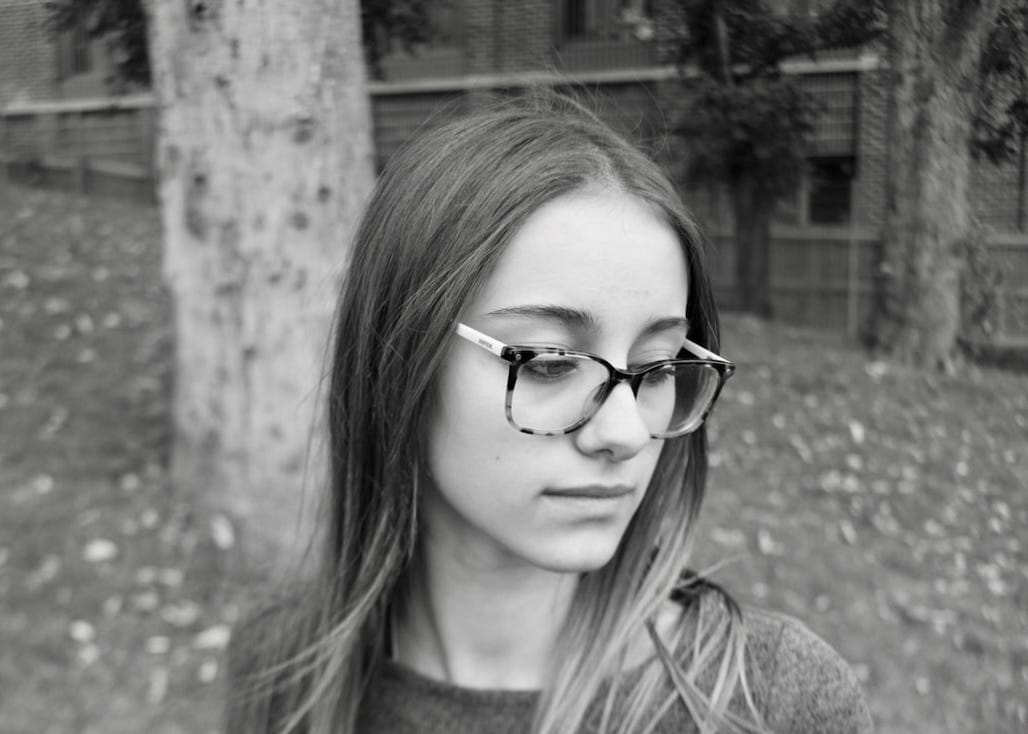
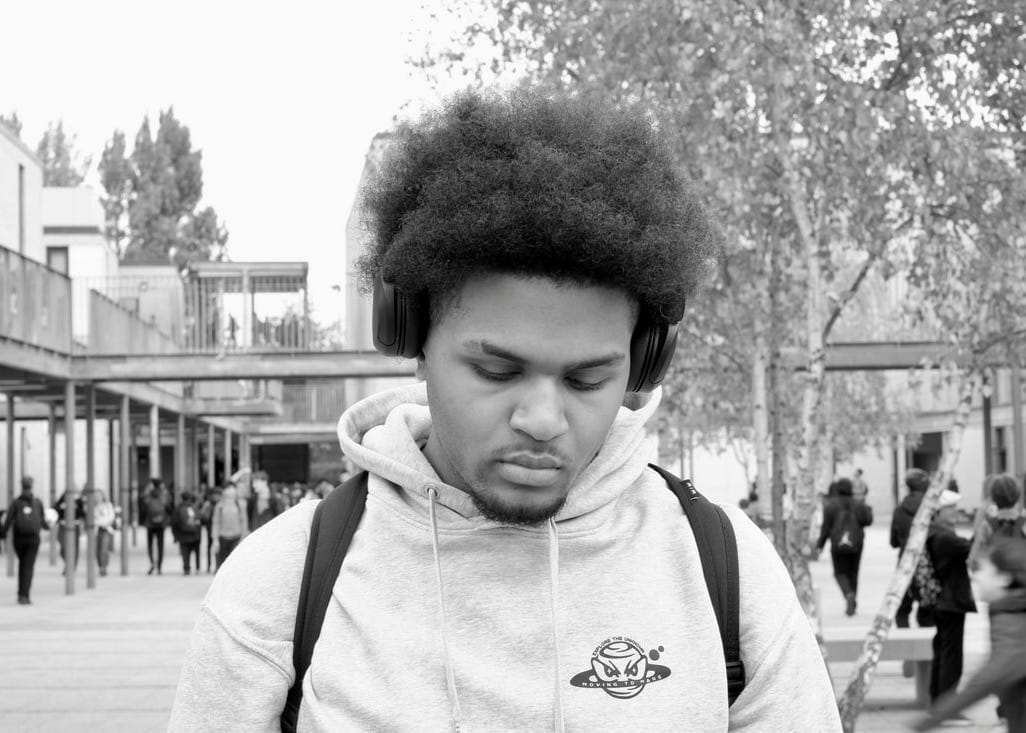
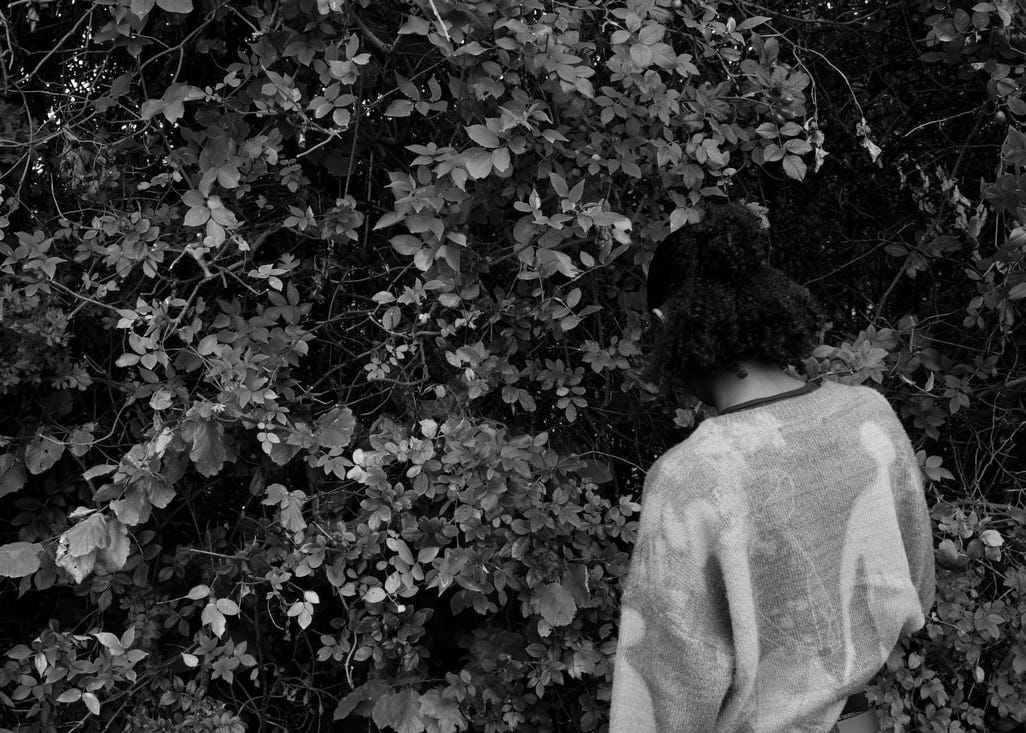
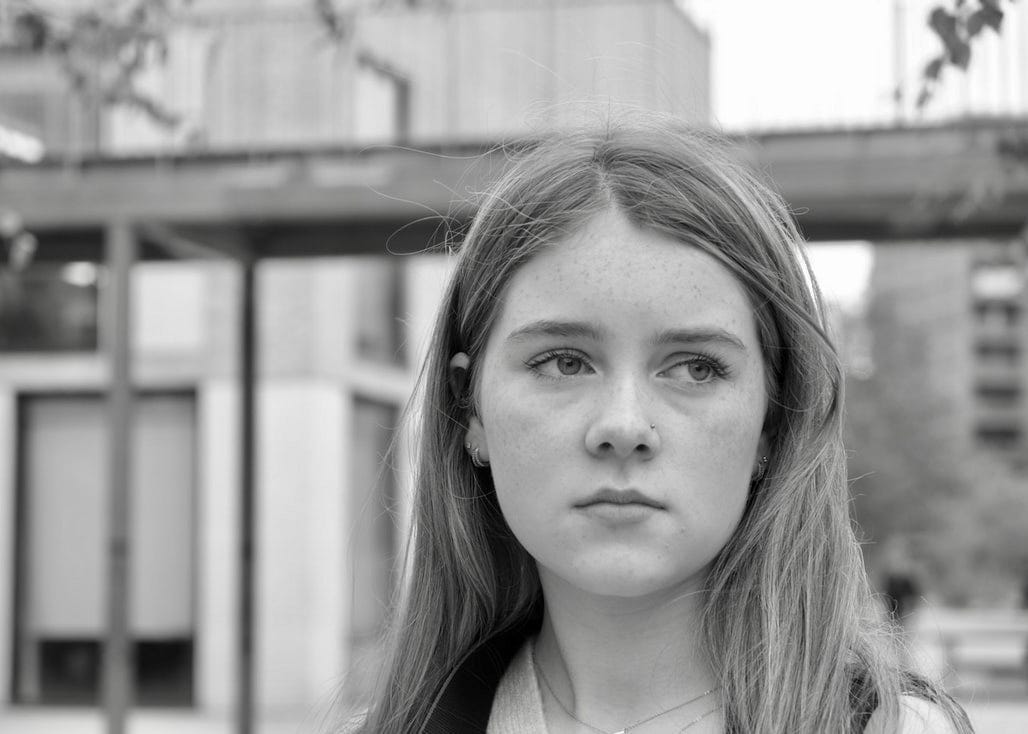
Environmental portraits made with digital cameras in Manual Mode
They quickly grasped the way to use the built-in lightmeter, changing shutter speed and aperture settings to achieve different depths of field. There were plenty of ‘mistakes’, all valuable learning experiences.
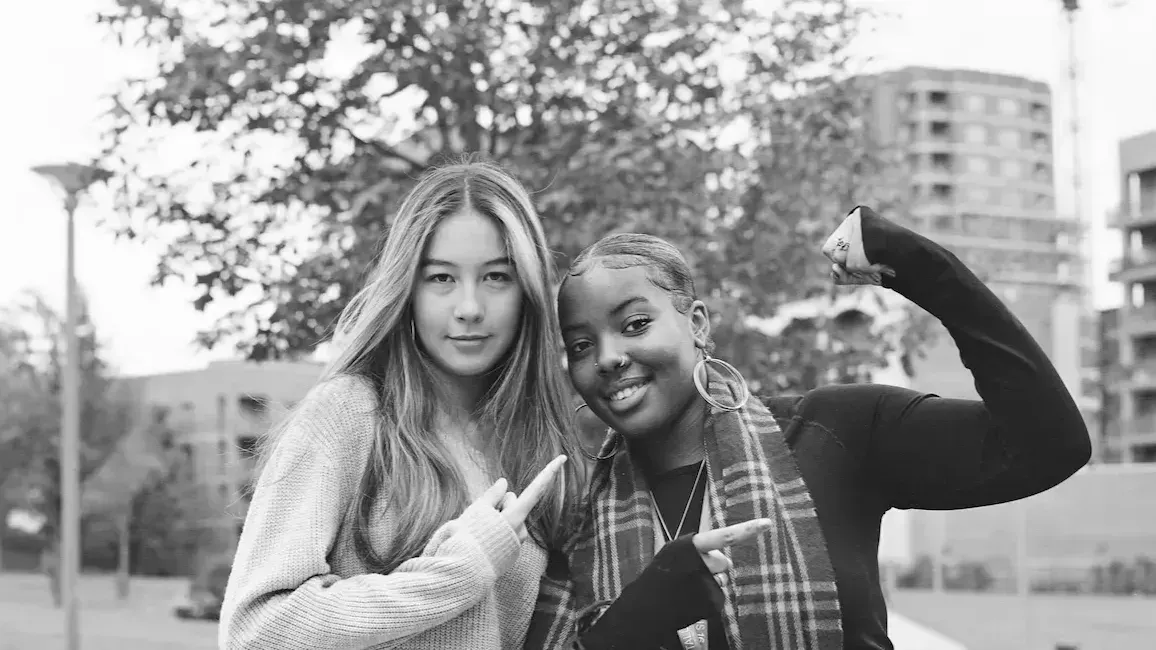
Here are some of my favourite medium format film shots, a mixture of 6x4.5 and 6x6:
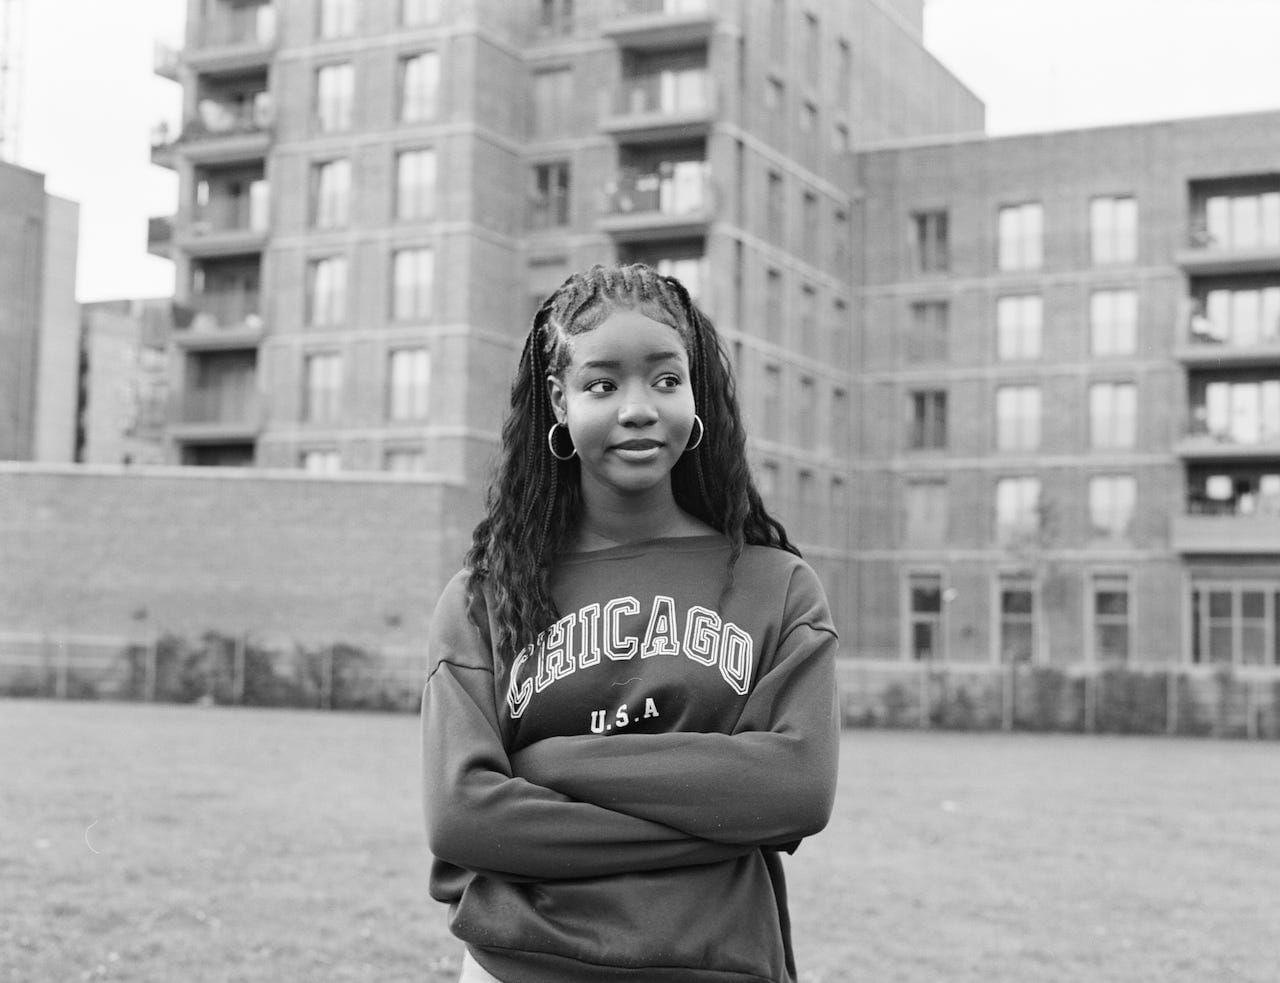
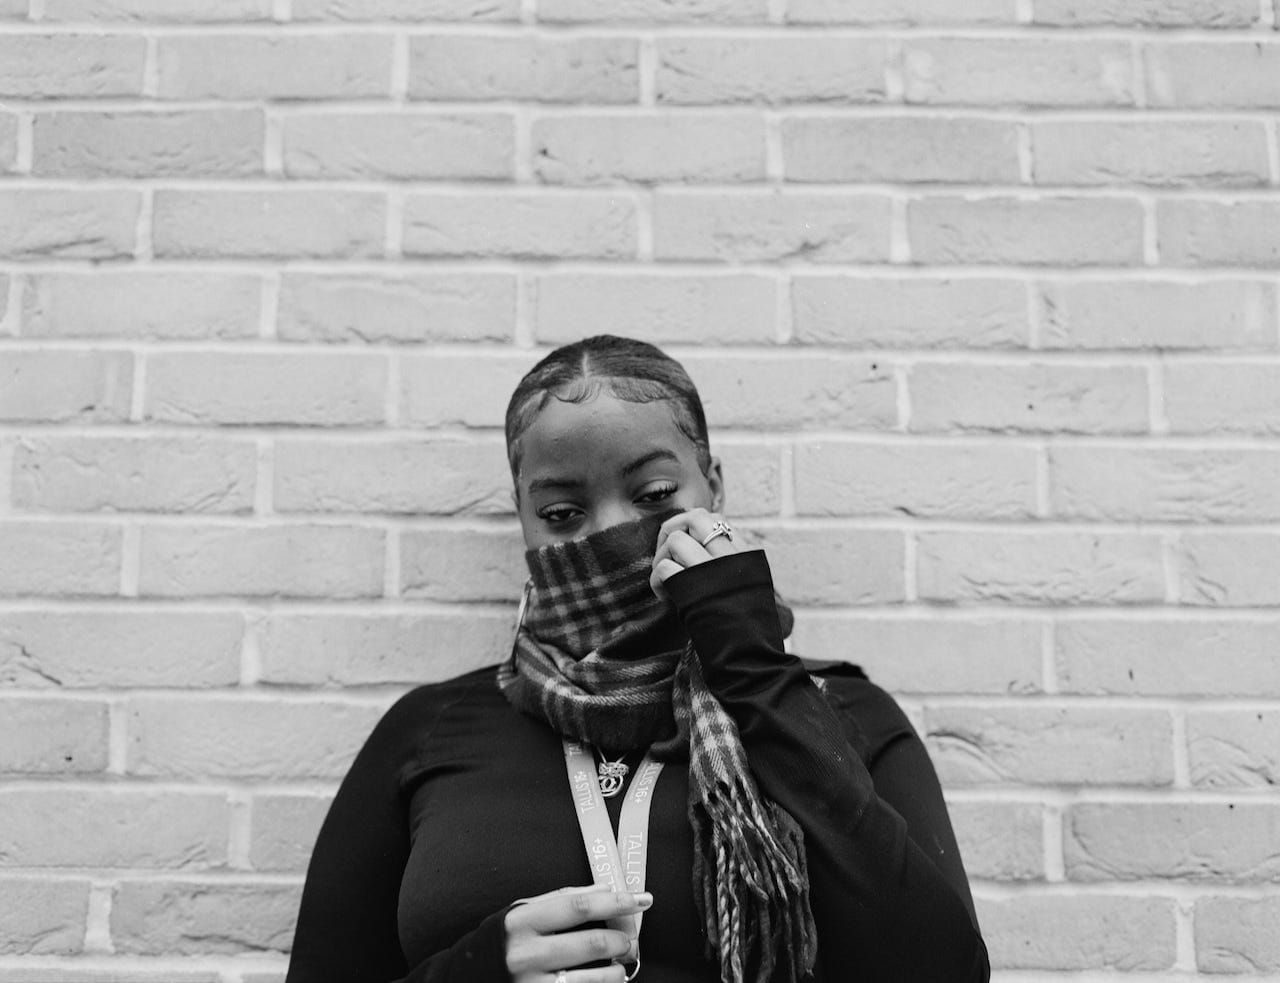
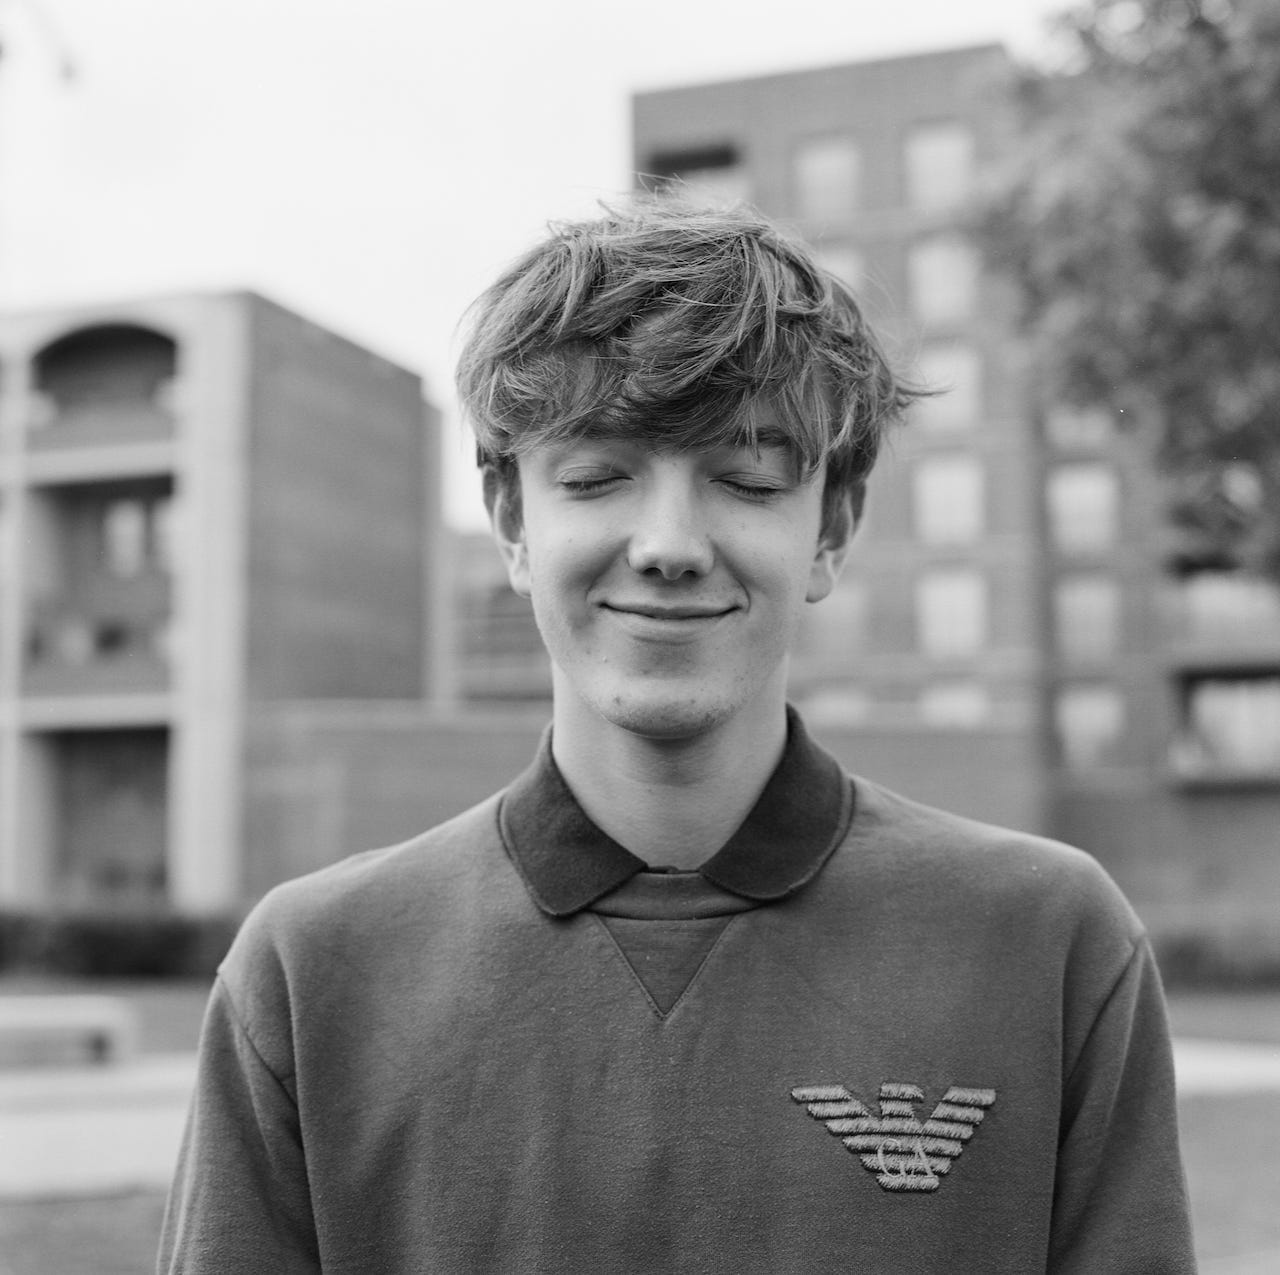
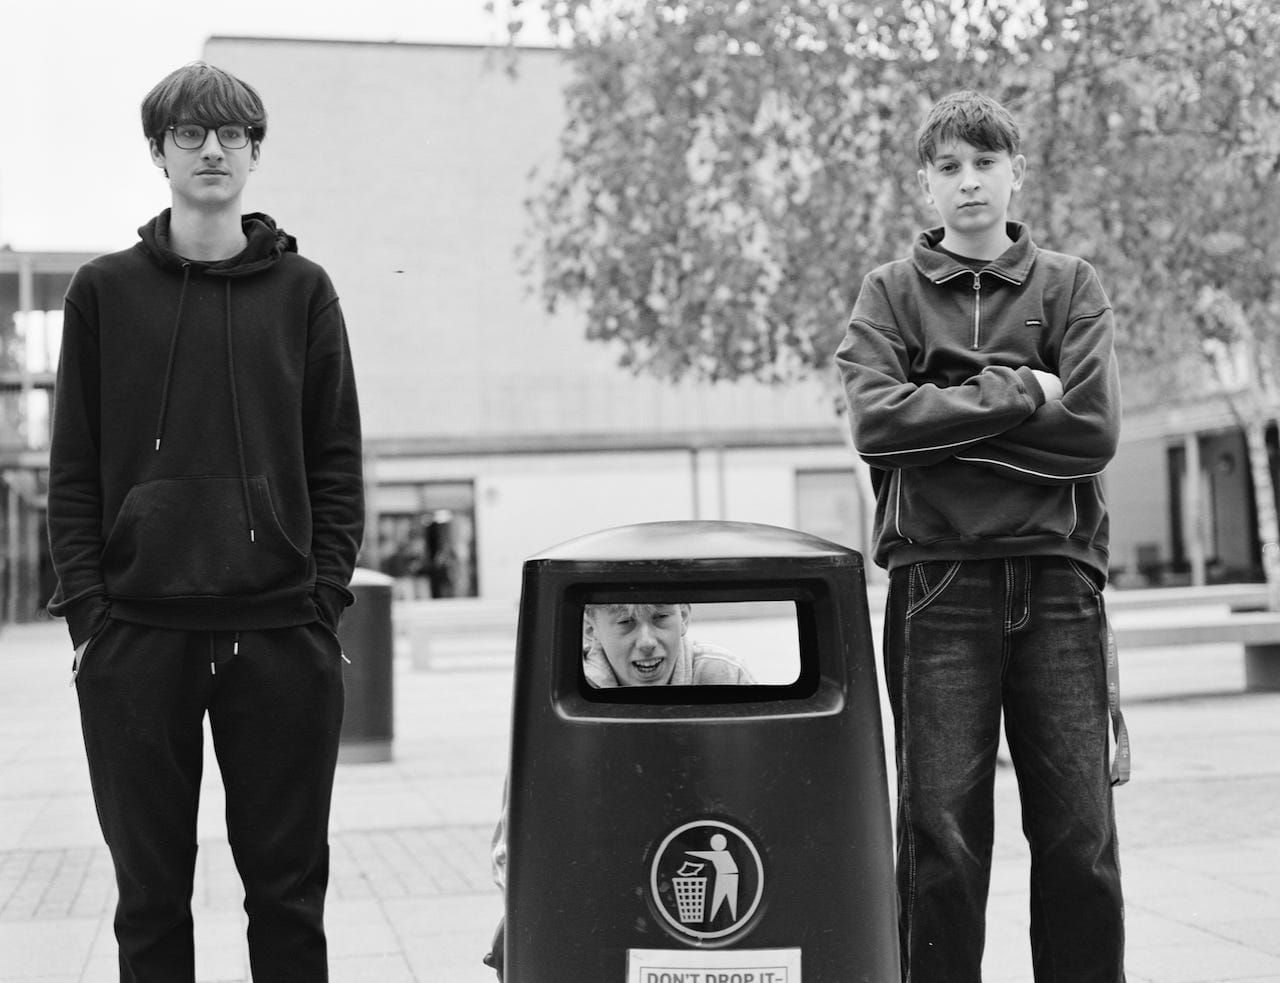
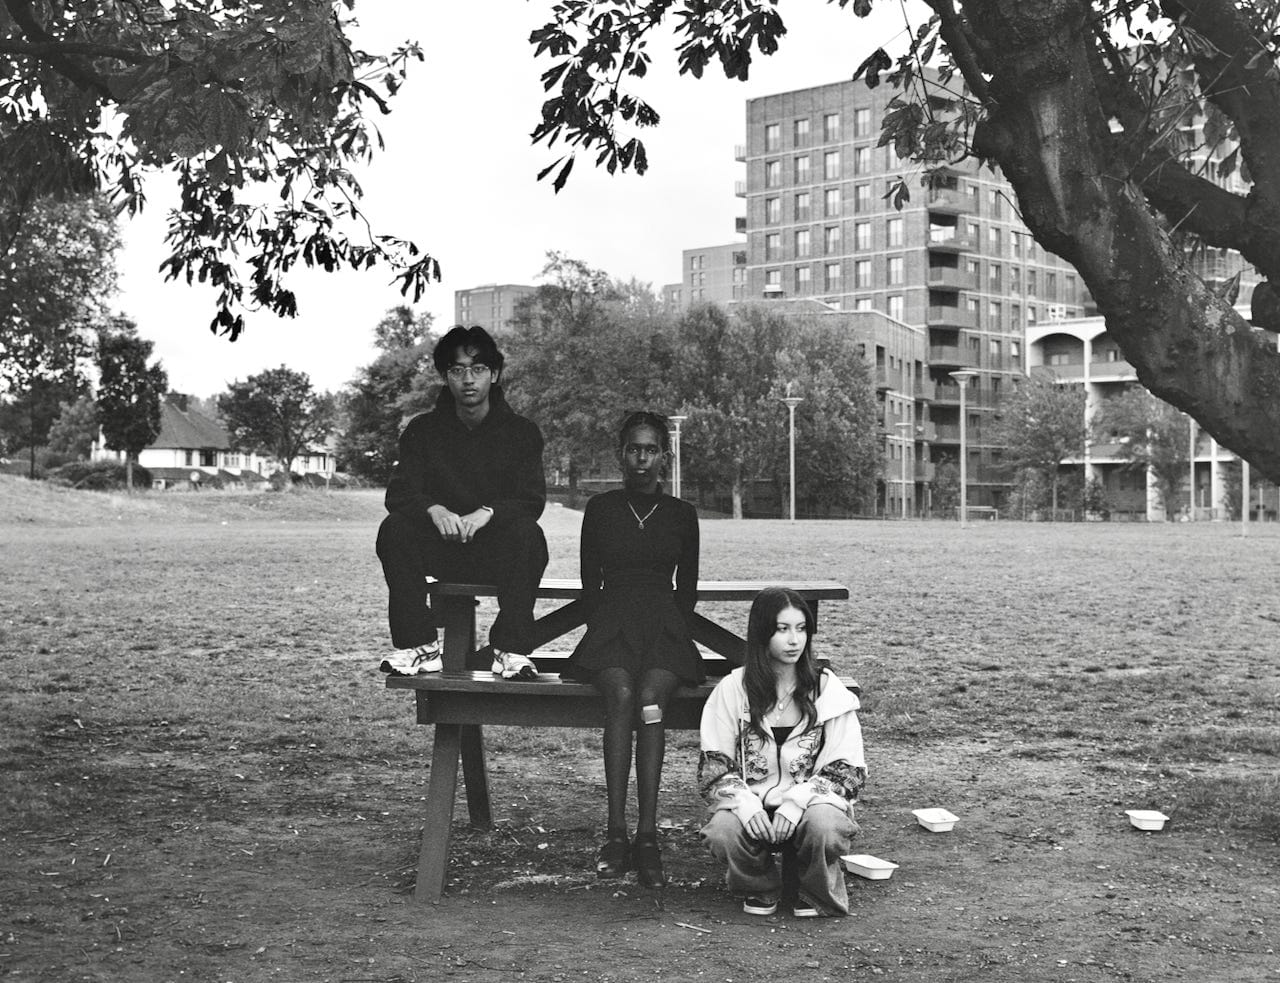
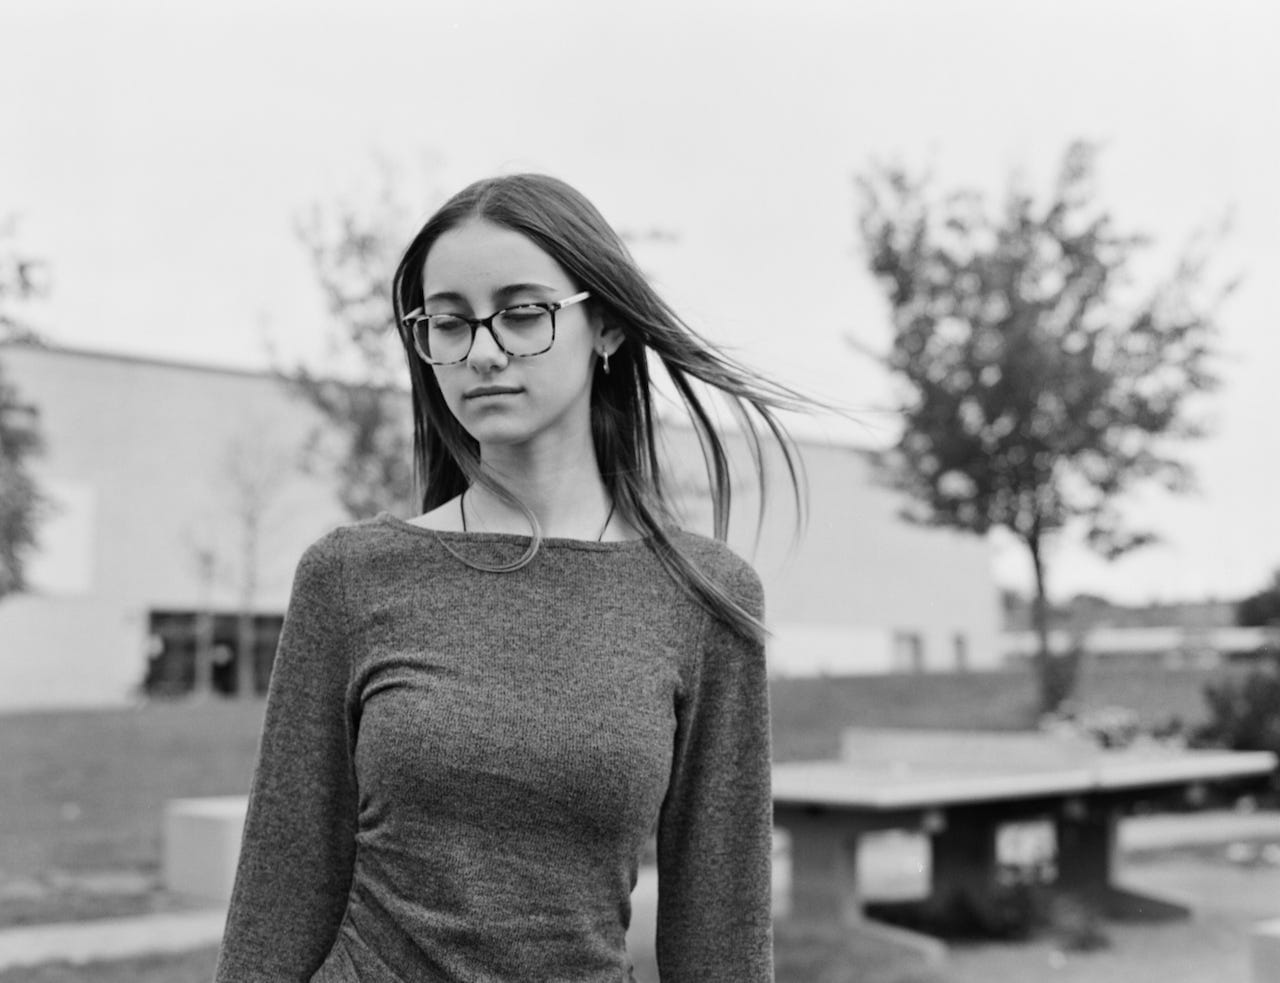
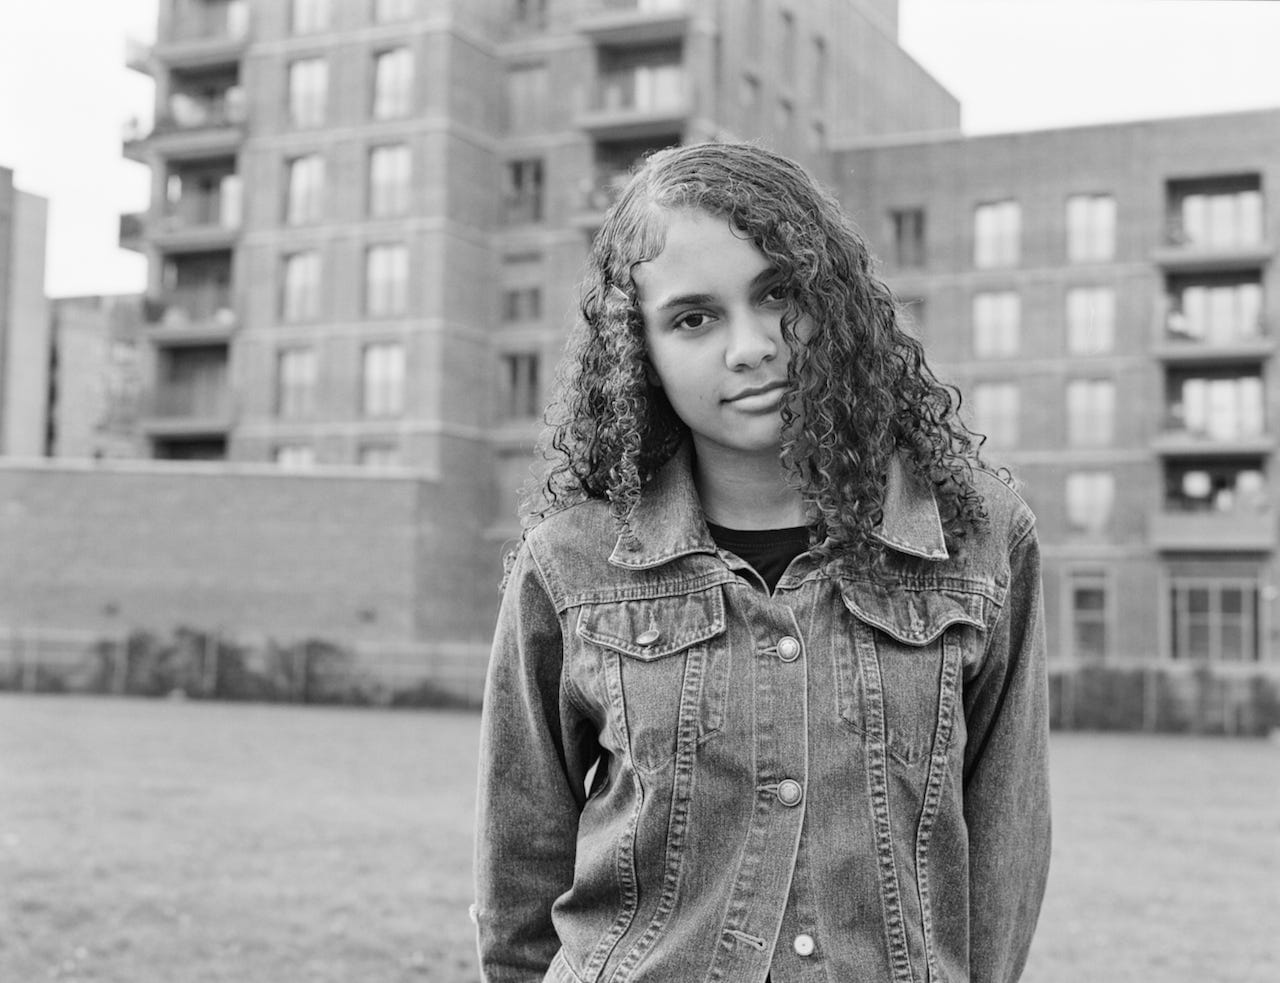
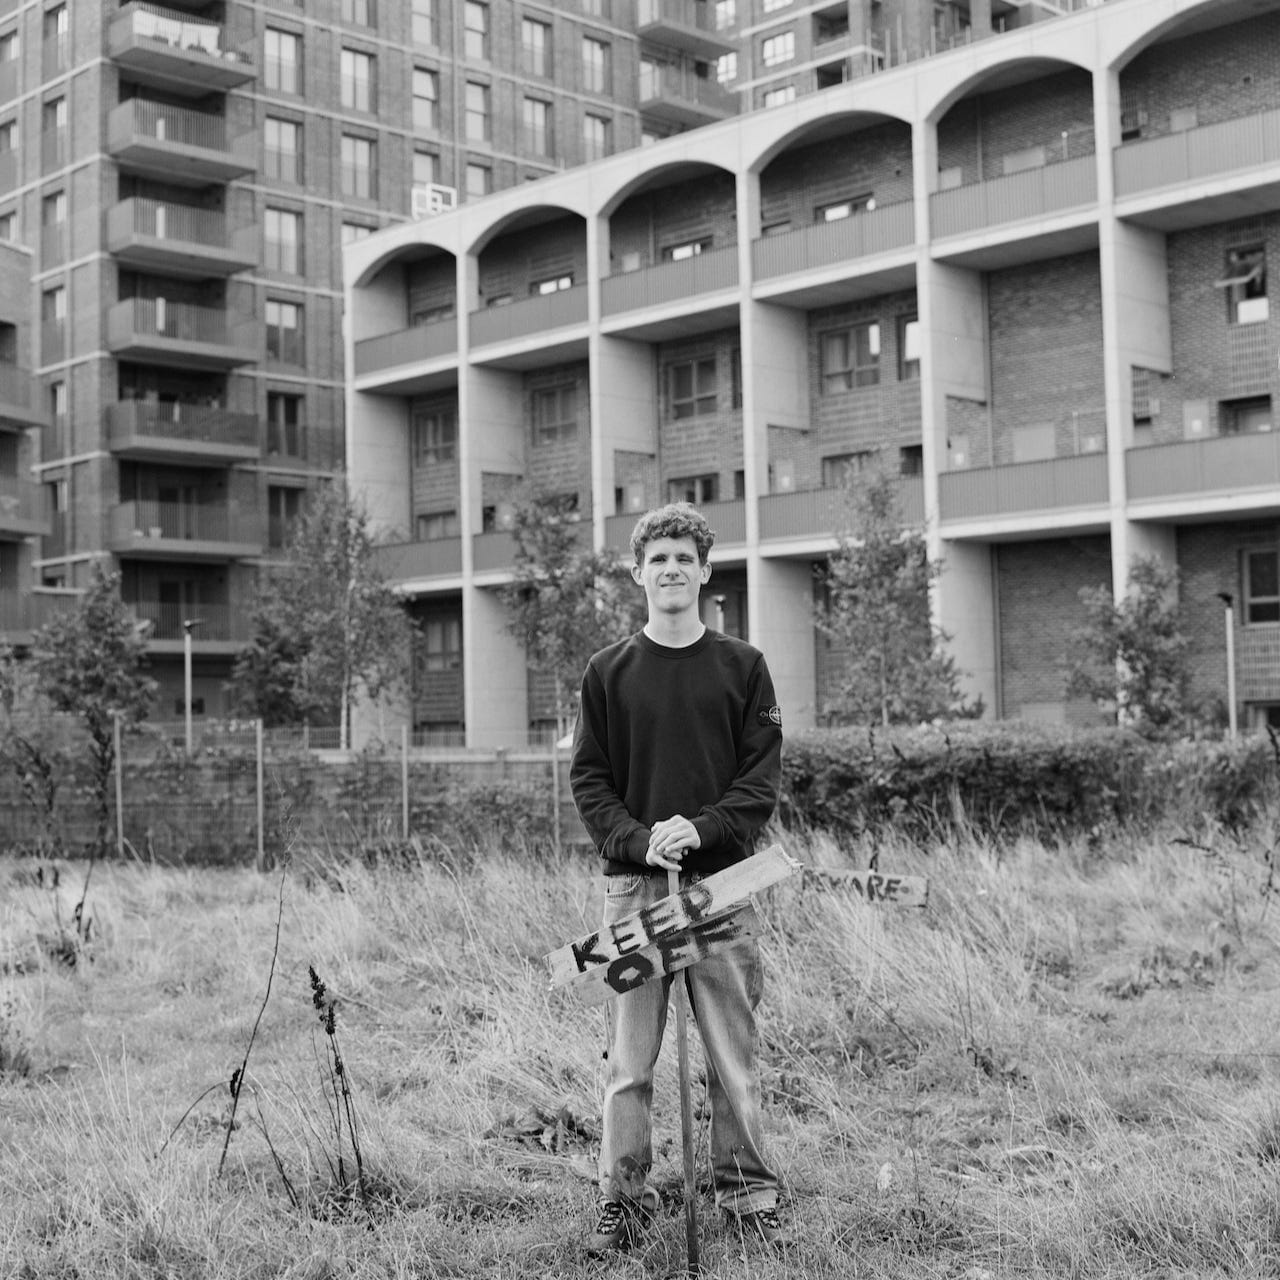
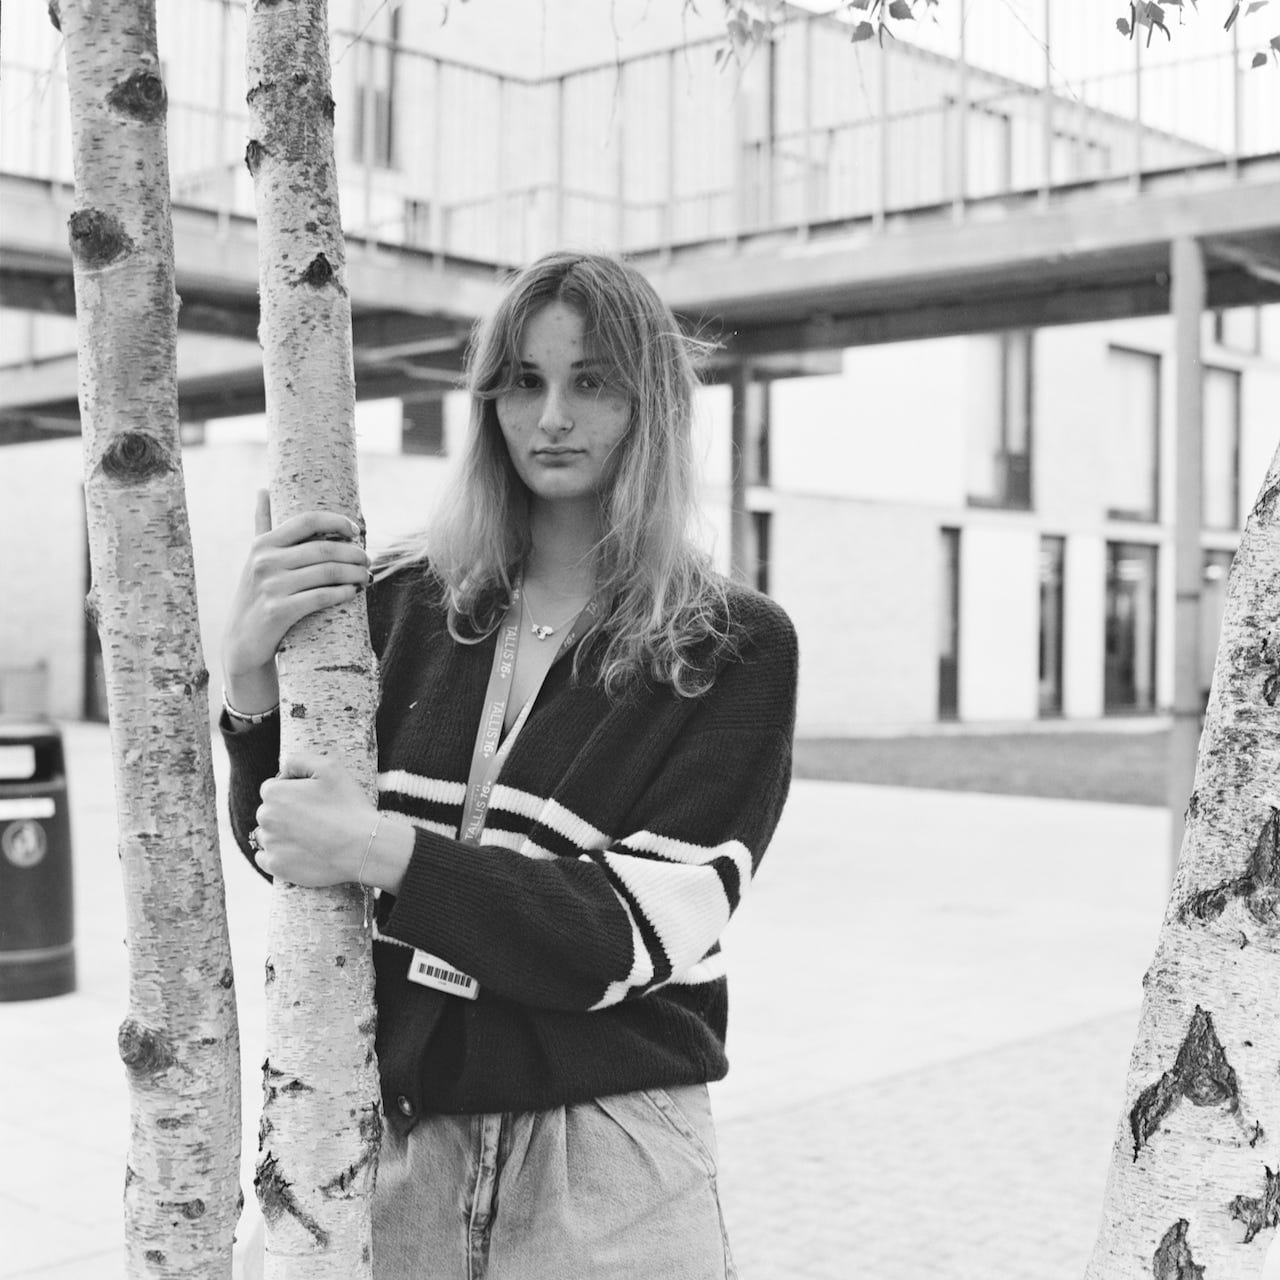
Year 12 having fun making environmental portraits on medium format
Again, there were plenty of out-of-focus, poorly composed and inexpertly exposed pictures. We’ll take our time to look carefully at them and figure out what to do better next time.
This first session was all about familiarising the students with the equipment, encouraging them to collaborate on both sides of the camera and prioritising having fun. I wanted them to feel that working with professional analogue equipment was accessible to them, and relatively straightforward. Next week, we will make contact sheets from the negatives and select some images to print. The students will also have an opportunity to reflect on their first film experiments, identify what worked and what could be improved, and then have another go.§
In future weeks, those who are interested may choose to continue to develop their analogue photography skills and their understanding of how to make successful portraits. There’ll also, hopefully, be time to experiment with studio lighting.
These technical workshops are designed to run alongside the students’ Personal Investigations. They document what they have learned in a separate section of their websites. Some students are drawn to analogue processes; others are happy with digital. But all students benefit from knowing a bit more about the techniques, materials and processes available to them.
It’s powerful knowledge, the stuff that you can’t easily get at home or via the Internet, the kind that schools and teachers can provide.
Thanks for reading PhotoPedagogy! Subscribe for free to receive new posts.
These posts will always be free but, if you enjoy reading them, you can support my analogue photography habit, and that of my students, by contributing to the film fund. Thanks to those of you who have already done so. All donations of whatever size are very gratefully received.
* Googling Environmental Portraiture produces very mixed results. I particularly love this interview with Rahim Fortune, recently nominated for the Deutsche Börse prize:
† We do have the ability to develop our own films in school but not with totally reliable results and time is of the essence. I really wanted the students to have super clean negatives to work with in the darkroom next week, so I took the films to a lab to get them processed and scanned. I got them back the same day.
‡ I recommended the Lghtmtr app (free) or myLightmeter Pro ($3.99/£2.97) for iPhone users
§ My plan is to ration the film considerably next time, to increase the level of challenge and slow the process down even more. We’ll aim to make each and every shot count.